


Hellooo Friends!
It’s the first Saturday of the month which means another fun Friends of Unity Blog Hop!
This month we have a FUN sketch for you to try! I absolutely love sketch challenges as they help me tremendously to get “unstuck” when I can’t decide on a design. They can be used “as is” or you can add your own twist to them! I have done both for this challenge so that you can see how the sketches can be simply used as a creative starting point.
Before we start, just a reminder that Unity Stamp Co. does not sponsor our monthly hops BUT they do lovingly approve! Should any of our Team Members offer prizes please know they generously give away products from their own personal stash. We are so grateful that Unity Stamp Co allows us to showcase some of our favorite Unity stamps each month and we are super delighted to have YOU hop along with us! Please be sure to leave me a comment so that I know you were here! I read each and every one and it brings me so much joy to know that you stopped by for a bit. I hope you find something on my page today that INKspires you to give this month’s sketch a try! Tag me if you do!
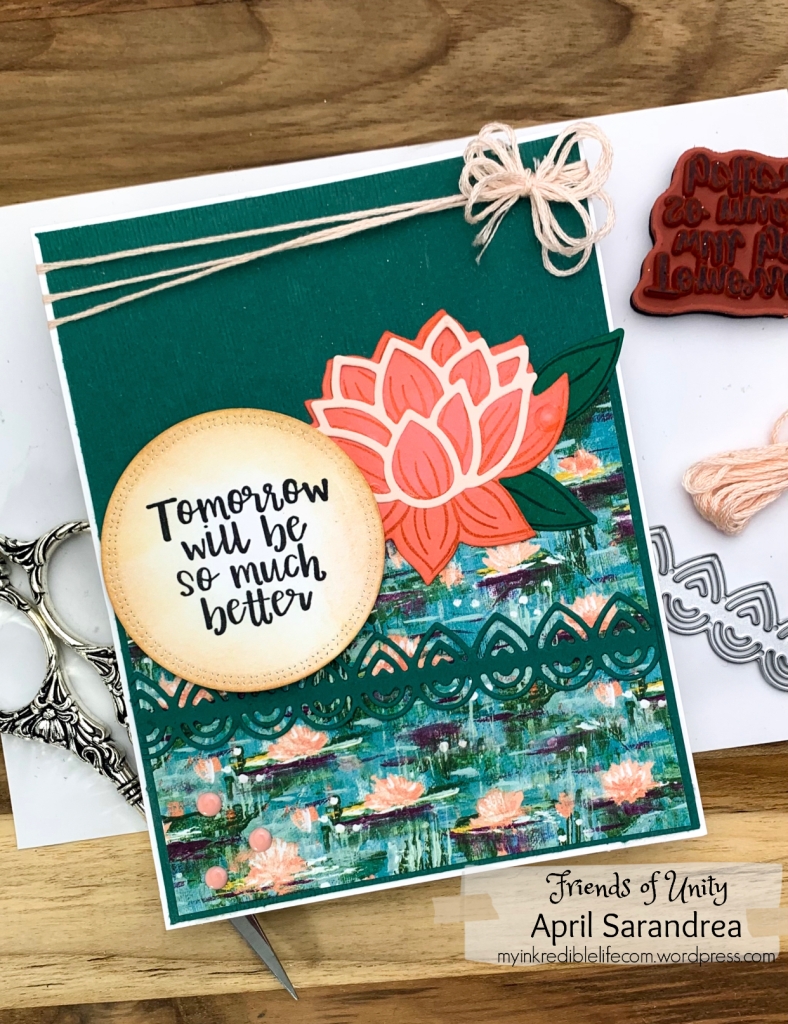
Using the sketch provided I created my first card with the gorgeous floral kit called Cotton Embrace. This is a beautiful open floral that is so very easy to watercolor. I absolutely love it!

I started with a light brown cardstock base and used distress oxide ink to ink around the edges to give it an old/weathered look. I then ripped a page right out of a Nicholas Spark book and did the same. Once the edges were distressed I glued it to my base.
I stamped the cotton buds onto Hammermill cardstock using Versaclaire Nocturne ink and quickly added black embossing powder then heat set the image. I find I get better watercolor results this way-nothing bleeds!
I also used distress oxide inks around the edges after cutting the image out with a stitched rectangle die. I also used a texture stamp and some distress ink in walnut stain to add some visual texture to the background. It’s very faint so as not to take away from the focal point. I used watercolor pans to paint the image and once dry I ripped another piece of the book page and attached it as shown.
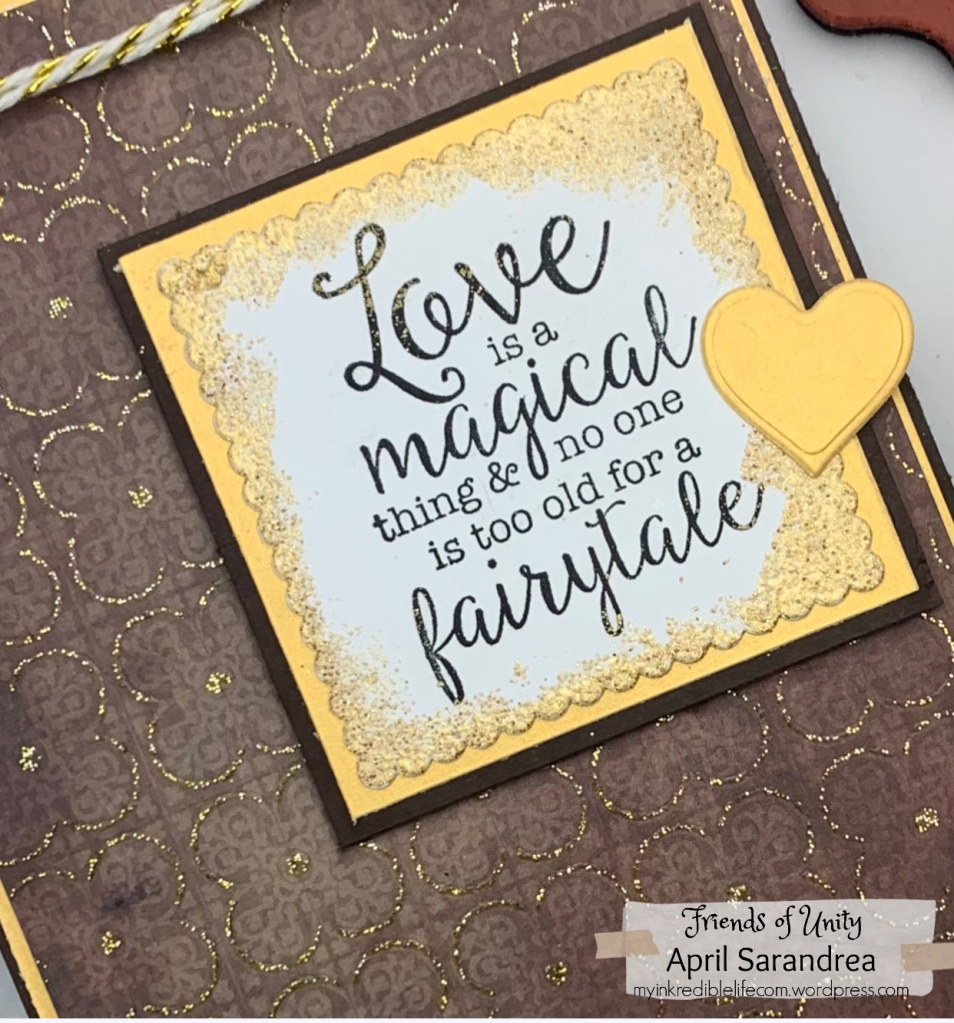
I had a piece of scrap pattern paper that I ripped, distressed with ink and glued down to my base. I used a sentiment from the “He Provides” kit and stamped on white cardstock. I distressed the sentiment as well and glued it to the base.
I wrapped some twine at the top of the card and using foam tape I then adhered the blossoms onto the card base to finish the project.
A few gems were added for a sweet accent.
I really love how this card turned out.
Here’s a little close up:
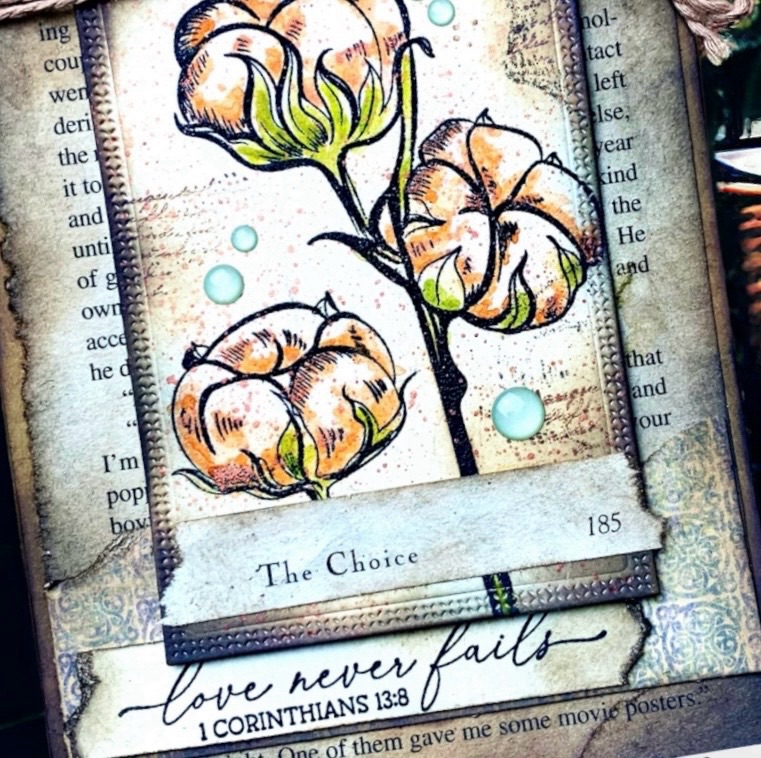
For some reason the gems look light blue in the picture but they’re actually more of a light gray.
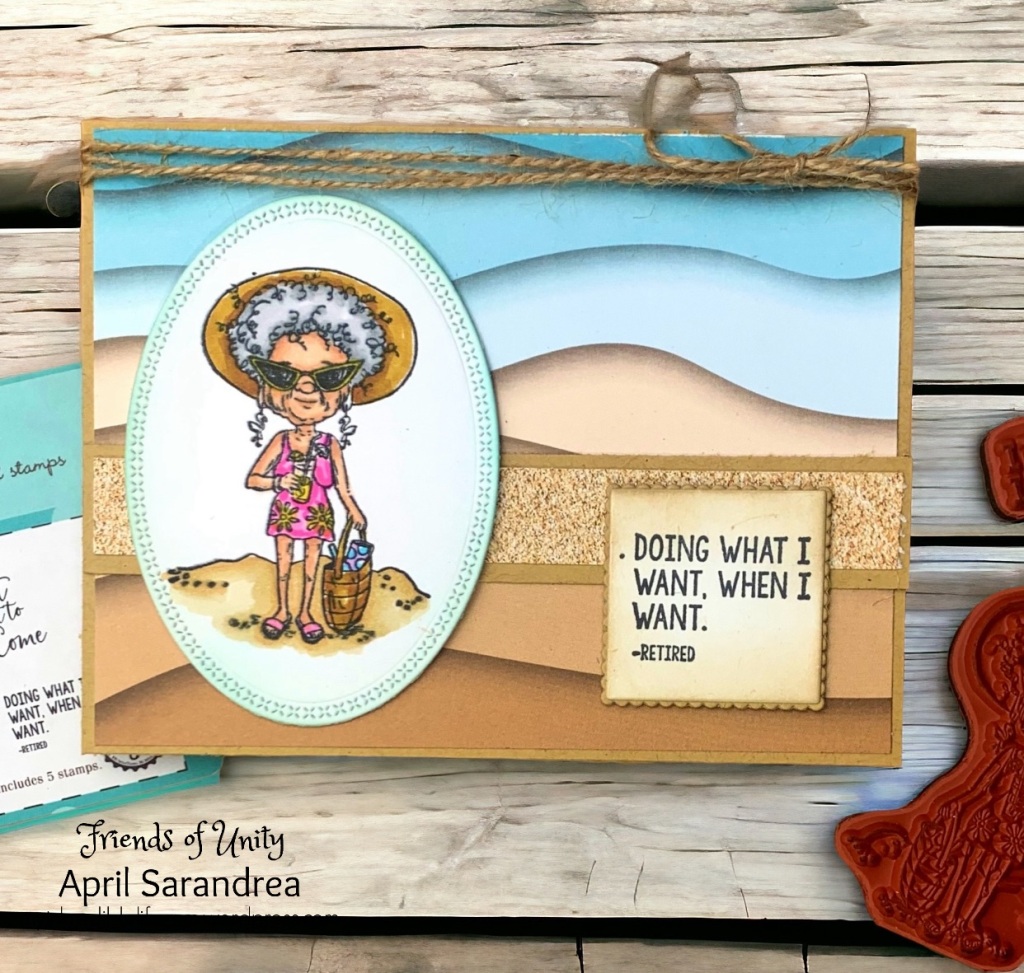
For my next card, I turned my project horizontally and used the sketch as a guide. It’s really fun to see everyone’s interpretation of the sketches. Some people follow them exactly as created and some come up with their own versions! There are NO rules! (Which is great because I don’t follow rules very well)
I used the kits “Happy and Cozy” and “Winter’s Trust” to create this rustic card.

I started with a dark brown cardstock base and used a piece of patterned paper for my background. The pattern paper looks like rust. It’s really cool and I thought it paired well with the design.
I stamped the trees in dark brown ink and using shades of yellow, orange, green and brown I inkblended the background. I also stamped a bit of texture in the background as well. Its very faint but it gives it a but if visual texture. I added some splatters of white paint to break up the dullness the browns were giving off. While the splatters were drying I stamped the cabin, fussy cut it out and watercolored the image,
I tore a piece of green cardstock to run along the bottom of my stamped image. After gluing it down I then glued the cabin to the finished stamped piece.
I used a piece of scrap pattern paper and glued this down to my base as shown. The sentiment was stamped onto white cardstock, distessed with ink and I lightly stamped sprigs of grass to visual texture.
The sentiment was glued to a black background then adhered to the card using foam tape.
Lets see if we can take a closer look:

I think this would be a great non-traditional Valentines Day card especially if the recipient was the “outdoorsy” type, don’t ya think?
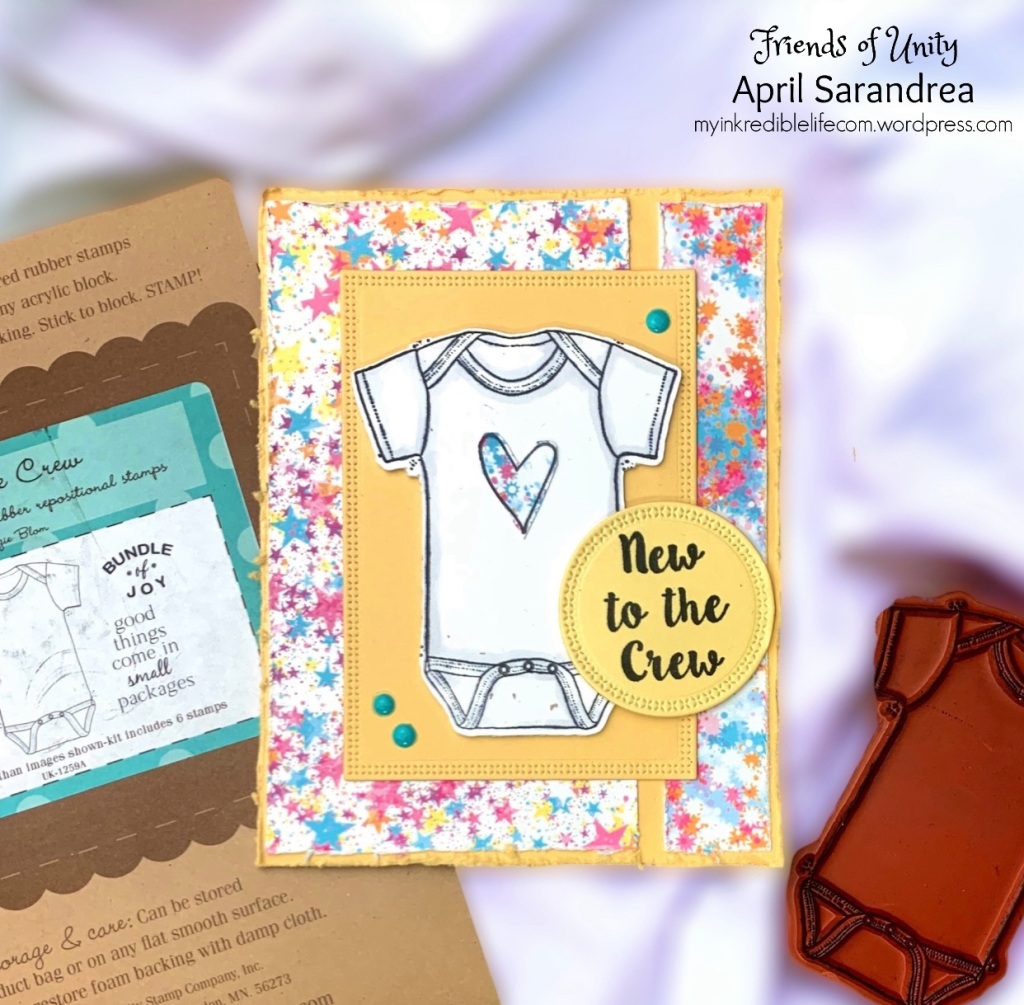
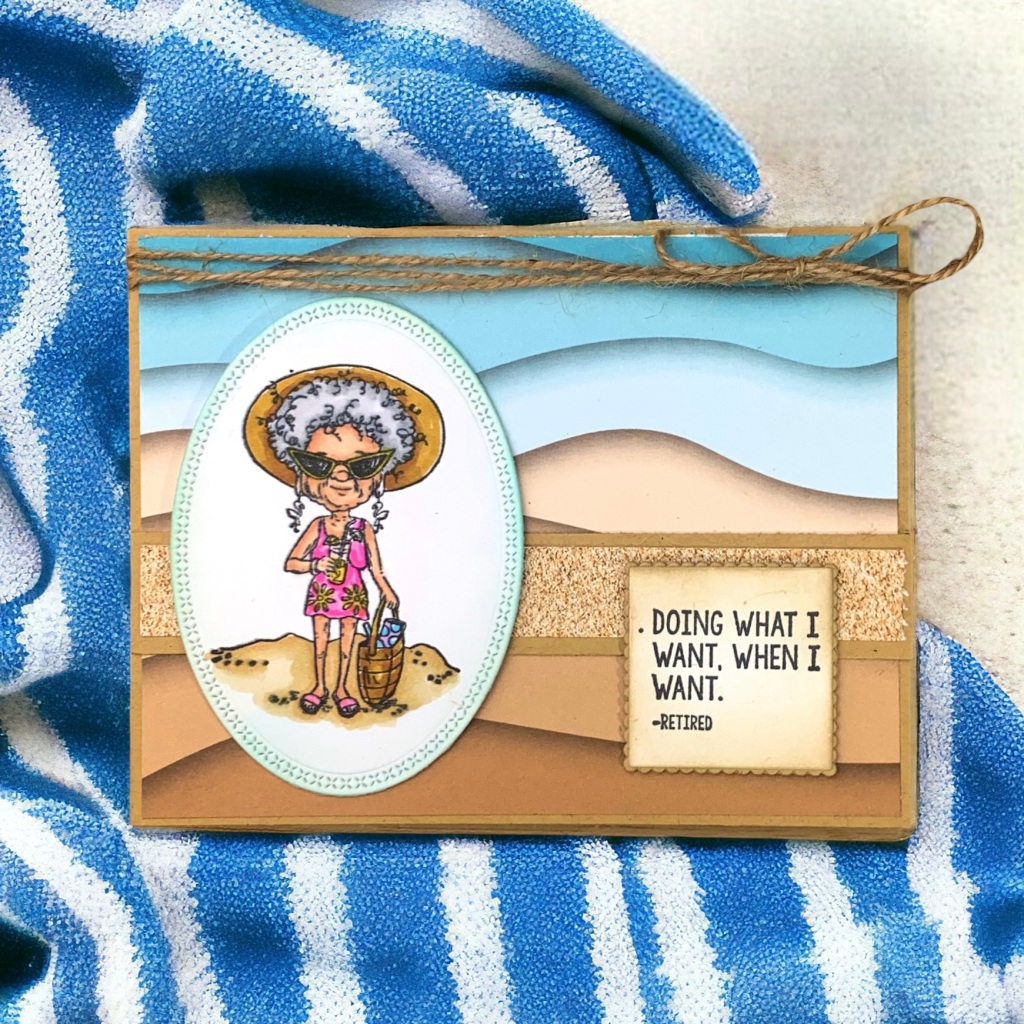
For my final card I switched the sketch up just a little by putting the sentiment at the top of the card vs the bottom. Remember, no rules! Use sketches as a guide and see what unfolds!
For the next card I used the kit “I really love you” and I really love this image!

I started off with a black cardstock base and cut a white piece of cardstock for the background.
I stamped the image using Versaclaire Nocturne ink and embossed over it with black embossing powder. Using a stitched die, the image was cut out and the edges inkblended. I used a cloud stencil and lightly inked the background in a pale pink. The hearts were brought to life using my watercolor pans.
A strip of pink glitter paper was placed at the bottom of my background as shown. I also used a scrap piece of the sane glitter paper and my tab punch to create a fun tab.
The sentiment was stamped and glued to a strip of patterned paper. The tab and banner were added as accent pieces and then the image was adhered to the base with foam tape.
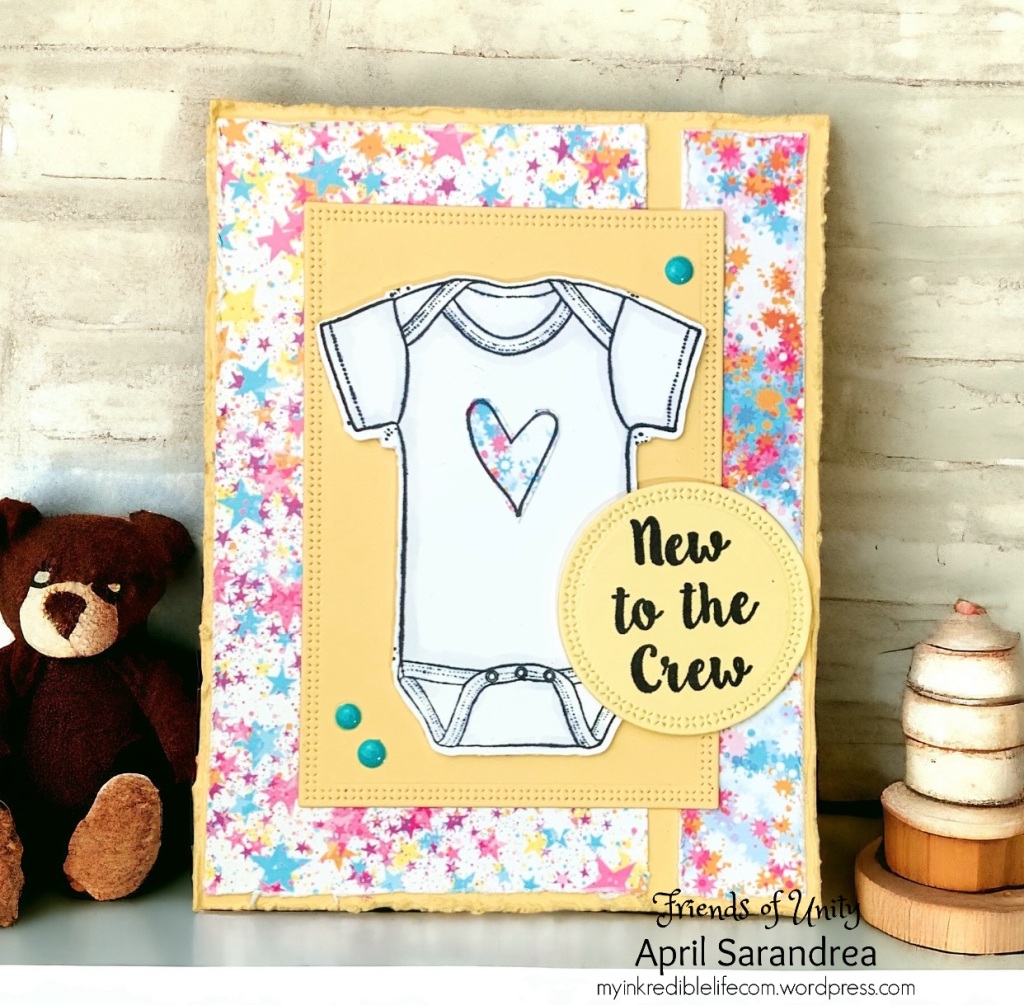
Here’s a closer view:

Well friends, that’s all I have for today! I hope that you found something to INKspire you to try this month’s sketch! Thank you SO very much for stopping by and supporting our little hop!
Before you go, I would love to know what your favorite card was this month! And please be sure to check out what all of our FOU friends have waiting to share with you as well!
If you’re ready to move along, our talented friend Dawn has some great ideas in store for you!
If you want to start from the beginning, you’ll be excited to check out Crystals page!
Hope you have an INKredible day!


You must be logged in to post a comment.